
In this post we will create a basic login API using .net core. This API will be using SQL database for storing user info and same will be used to authorize the users during login process. You will find the SQL db script for creating the table for the users below along with the link to download source code for this tutorial.
Create a table and stored procedure in your SQL database using below script:
--Table script--
CREATE TABLE [dbo].[tblUsers](
[id] [int] IDENTITY(1,1) NOT NULL,
[username] [nvarchar](max) NOT NULL,
[password] [nvarchar](max) NOT NULL,
[firstname] [nvarchar](20) NOT NULL,
[lastname] [nvarchar](20) NOT NULL,
[dob] [nvarchar](50) NULL,
[email] [nvarchar](50) NULL,
[role] [nvarchar](50) NULL,
[contactno] [nvarchar](50) NULL,
[gender] [nvarchar](50) NULL
)

--Stored procedure--
create proc sp_users
(
@username nvarchar(50)=null, @password nvarchar(50)=null, @stmttype nvarchar(50)
)
as
begin
if(@stmttype='userlogin')
begin
select * from tblUsers where username=@username and password=@password
end;
end;
I have couple of user information in my table like below:


Now let’s begin with our .net core API project: DOWNLOAD SOURCE CODE
Select ASP.NET Core Web API from Create a new project option.
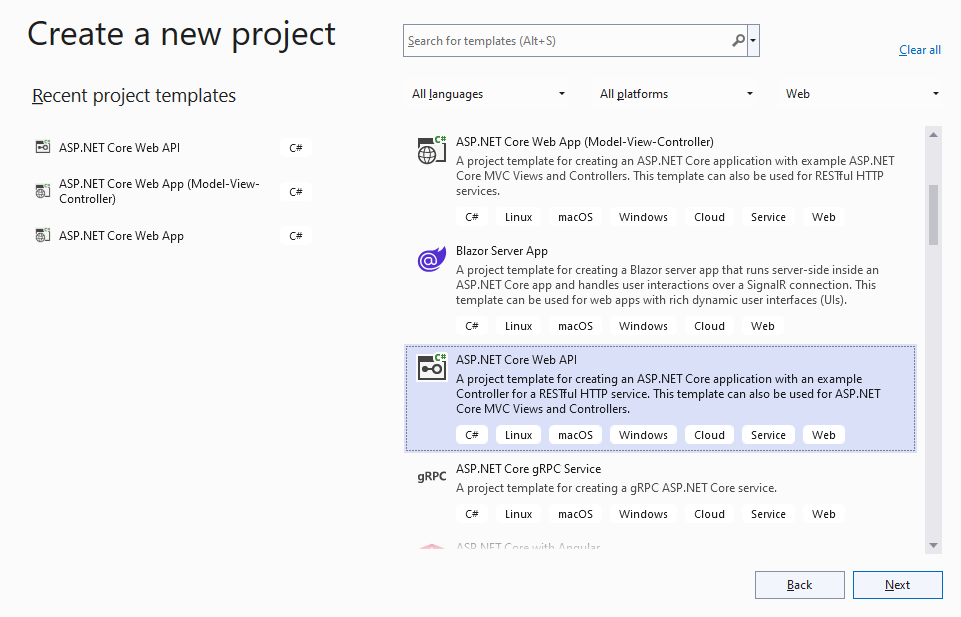

Give name to your project and create the project. By default, a controller would be created and can be used to test the API.
Open appsettings.json file and add a sql connection string key-value to use it for establishing connection with the database.
appsettings.json:
{
"Logging": {
"LogLevel": {
"Default": "Information",
"Microsoft.AspNetCore": "Warning"
}
},
"ConnectionStrings": {
"sql-conn": "Data Source=DESKTOP-T0RTF1A;Initial Catalog=SampleDB;Persist Security Info=True;User ID=sa;Password=1234",
},
"AllowedHosts": "*"
}
We will use “sql-conn” to create the database connection. Now create a new model class inside the Models folder. If the folder is not present please create it.
Models > Users.cs:
namespace Web_Project.Models
{
public class Users
{
public string username { get; set; }
public string password { get; set; }
}

public class UserDetails
{
public string username { get; set; }
public string firstname { get; set; }
public string lastname { get; set; }
public string dob { get; set; }
public string email { get; set; }
public string role { get; set; }
public string contactno { get; set; }
public string gender { get; set; }

public Result result { get; set; }
}

public class Result
{
public bool result { get; set; }
public string message { get; set; }
}
}
The Users class will be used to accept the user login data for the API and UserDetails will be used create a response object.
Create a controller with name UserController.cs inside the Controller folder as below:
Controllers > UserController.cs:
using Microsoft.AspNetCore.Mvc;
using System.Data;
using System.Data.SqlClient;
using Web_Project.Models;

namespace Web_Project.Controllers
{
[Route("api/[controller]")]
[ApiController]
public class UserController : ControllerBase
{
SqlConnection conn;
private readonly IConfiguration _configuration;

public UserController(IConfiguration configuration)
{
_configuration = configuration;
}

[HttpPost, Route("[action]", Name = "Login")]
public UserDetails Login(Users users)
{
UserDetails userdetails = new UserDetails();
userdetails.result = new Result();
try
{
if (users != null && !string.IsNullOrWhiteSpace(users.username) && !string.IsNullOrWhiteSpace(users.password))
{
conn = new SqlConnection(_configuration["ConnectionStrings:sql-conn"]);
using (conn)
{
SqlCommand cmd = new SqlCommand("sp_users", conn);
cmd.CommandType = CommandType.StoredProcedure;
cmd.Parameters.AddWithValue("@username", users.username);
cmd.Parameters.AddWithValue("@password", users.password);
cmd.Parameters.AddWithValue("@stmttype", "userlogin");
SqlDataAdapter adapter = new SqlDataAdapter(cmd);
DataTable dt = new DataTable();
adapter.Fill(dt);

if (dt != null && dt.Rows.Count > 0)
{
userdetails.username = dt.Rows[0]["username"].ToString();
userdetails.firstname = dt.Rows[0]["firstname"].ToString();
userdetails.lastname = dt.Rows[0]["lastname"].ToString();
userdetails.email = dt.Rows[0]["email"].ToString();
userdetails.gender = dt.Rows[0]["gender"].ToString();
userdetails.contactno = dt.Rows[0]["contactno"].ToString();
userdetails.dob = dt.Rows[0]["dob"].ToString();
userdetails.role = dt.Rows[0]["role"].ToString();

userdetails.result.result = true;
userdetails.result.message = "success";
}
else
{
userdetails.result.result = false;
userdetails.result.message = "Invalid user";
}
}
}
else
{
userdetails.result.result = false;
userdetails.result.message = "Please enter username and password";
}
}
catch (Exception ex)
{
userdetails.result.result = false;
userdetails.result.message = "Error occurred: " + ex.Message.ToString();
}
return userdetails;
}
}
}
The Login method will be used to authorize the user for login process. It accepts a User object along with username and password value, once data from SQL Database is fetched, a UserDetail object is created and sent in the response.
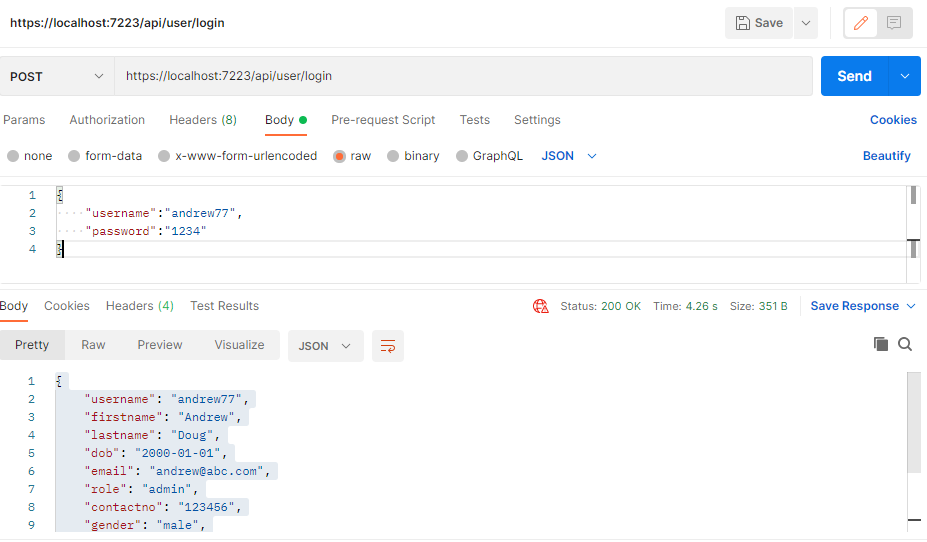
Login API URL: https: //localhost:7223/api/user/login
Request parameter:
{
"username":"andrew77",
"password":"1234"
}
Response:
{
"username": "andrew77",
"firstname": "Andrew",
"lastname": "Doug",
"dob": "2000-01-01",
"email": "andrew@abc.com",
"role": "admin",
"contactno": "123456",
"gender": "male",
"result": {
"result": true,
"message": "success"
}
}
Postman snapshot for the Login API usage;’

Once the response is received, we can create our front-end application for the login usage with any of the apps. In the upcoming tutorial I will try to incorporate this API and also improve on this with Android Native platform, Xamarin.Forms App and few others.
You can download the source-code along with the database script using the below link: