You can optimize your web page stylesheet performance using css selectors. So lets talk about CSS selectors.
1. # – The ID selector
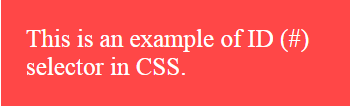
The hastag selector in CSS can be used by pointing out specific ID given to the element.
<div id="mydiv">
This is an example of ID (#) selector in CSS.
</div>
Style :
#mydiv
{
background-color:#ff4747;
color:#fff;
padding:25px;
font-size:25px;
width:300px;
}
2. . – The class selector
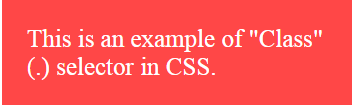
The class selector can be used by pointing out specific class given to the element.
<div class="mydiv">
This is an example of "Class" (.) selector in CSS.
</div>
Style :
.mydiv
{
background-color:#ff4747;
color:#fff;
padding:25px;
font-size:25px;
width:300px;
}
3. The element selector
This is not a selector really. It simply selects all the element present in your webpage.
<div>
<p>
This is an example of Element Selector in CSS.
</p>
</div>
Style :
div
{
background-color: #858855;
background-color:#f16b49;
padding: 2px;
height:auto;
width:500px;
}
p
{
background-color: #000;
color: #fff;
font-size:25px;
text-align:center;
}

4. + – The Adjacent Selector
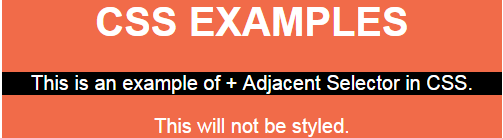
The + sign is known as the adjacent selector, as it selects only the element appearing immediately after the specific selector.
<div>
<h1>
CSS EXAMPLES</h1>
<p>
This is an example of + Adjacent Selector in CSS.
</p>
<p>
This will not be styled.
</p>
</div>
Style :
div
{
background-color: #f16b49;
font-family:Arial;
height: auto;
color: #fff;
width: 500px;
font-size: 20px;
text-align: center;
}
h1 + p
{
background-color: #000;
}
5. The A B element selector
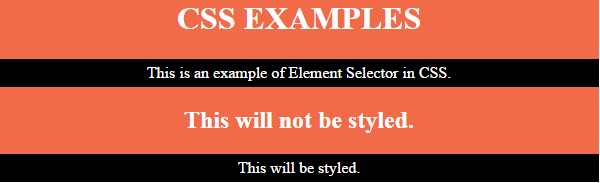
This simply selects all the elements which is specified appearing inside the element which is specified.
<div>
<h1>
CSS EXAMPLES</h1>
<p>
This is an example of Element Selector in CSS.
</p>
<h2>
This will not be styled.
</h2>
<p>
This will be styled.
</p>
</div>
Style :
div
{
background-color: #f16b49;
color: #fff;
width: 600px;
text-align: center;
}
div p
{
background-color: #000;
padding:5px;
}
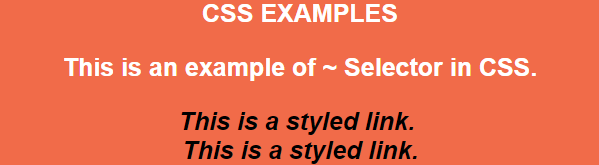
6. The ~ selector
This selector selects every specified element appearing within a particular element.
<div>
CSS EXAMPLES
<p>
This is an example of ~ Selector in CSS.
</p>
<a href="#">This is a styled link.</a>
<br/>
<a href="#">This is a styled link.</a>
</div>
Style :
div
{
background-color: #f16b49;
font-family: Arial;
height: auto;
color: #fff;
width: 600px;
font-size: 25px;
font-weight: bold;
text-align: center;
}
p ~ a
{
color:Black;
text-decoration:none;
font-style:italic;
}
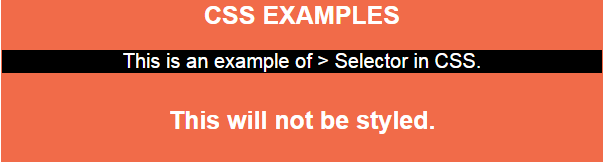
7. The > selector
This will only selects the elements appearing directly within a specified element in the style.
<div>
CSS EXAMPLES
<p>
This is an example of > Selector in CSS.
</p>
<h4>
<p>
This will not be styled.
</p>
</h4>
</div>
Style :
div
{
background-color: #f16b49;
font-family: Arial;
height: auto;
color: #fff;
width: 600px;
padding: 1px;
font-size: 25px;
font-weight:bold;
text-align: center;
}
div > p
{
background-color: #000;
font-size: 20px;
font-weight:lighter;
}
8. The : selector
This is the one of the best selector as it helps so much to style me my webpages. There are many different uses of this selectors, like one shown below. The example explains the :hover selection.
<div>
CSS EXAMPLES
<br />
<input name="mytxtbox" type="text" id="mytxtbox" />
<input type="submit" name="mybutton" value="Hover here.." id="mybutton" />
</div>
Style :
div
{
background-color: #f16b49;
color: #fff;
width: 600px;
padding: 10px;
font-size: 25px;
font-weight: bold;
text-align: center;
}
#mybutton
{
background-color: #000;
color: #fff;
font-size: 20px;
width: 150px;
font-weight: bold;
}
#mybutton:hover
{
background-color: #fff;
color: #000;
}
#mytxtbox
{
width: 250px;
font-weight: lighter;
font-size: 20px;
color:#808080;
}
#mytxtbox:focus
{
background-color: #ffff80;
color:#000;
}
See the Pen HOVER SELECTOR by HITESH S VIKANI (@hitesh1120) on CodePen
Pingback: Android JSON Parsing • ParallelCodes
Pingback: Android Game Tutorial • ParallelCodes
Pingback: Android Import excel into Sqlite Database
Pingback: Connect Android to MS SQL Database. • ParallelCodes