In this post we will learn how can we create Angular project. I am using Visual Studio Code as my IDE and I have already installed Node.js. You can download and install latest version of Node.js from its official website for your windows, mac machine. Ok so let’s start with our Angular project creation.
Step 1 – Installing latest Angular CLI:
On Visual Studio code open an empty folder from your machine. Press Ctrl+` to open a new Terminal window or select View > Terminal
Type command npm install -g @angular/cli@latest and press Enter
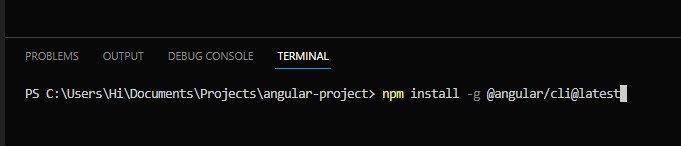
install-angular-cli
This command will install the latest Angular CLI using which we can create our Angular app.
Step 2 – Create Angular project
Once you have installed the CLI, type command ng new my-app This will create a new Angular project. Once the command complete, you will see project folder with different files and folders inside it.
first-angular-project
Type cd project name, my project name is my-app so the command will be cd my-app, this command will navigate the terminal into your project folder. Now we can run the project by using command ng serve my-app
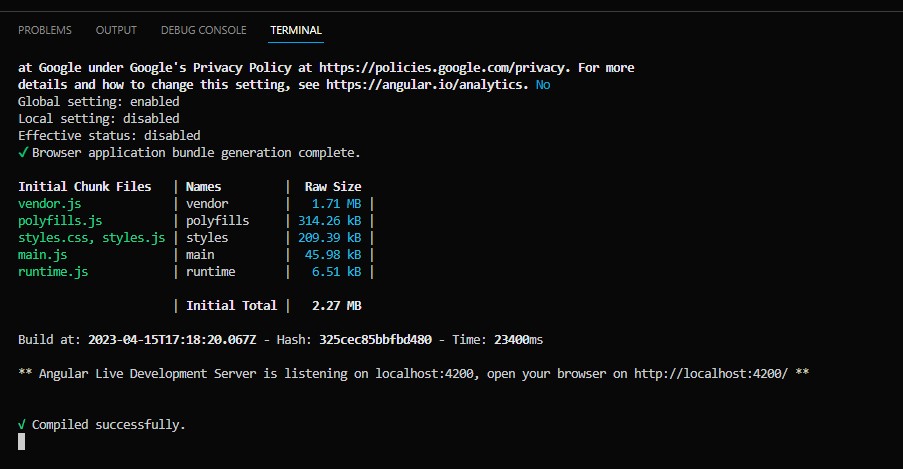
serve-ng-app-my-project
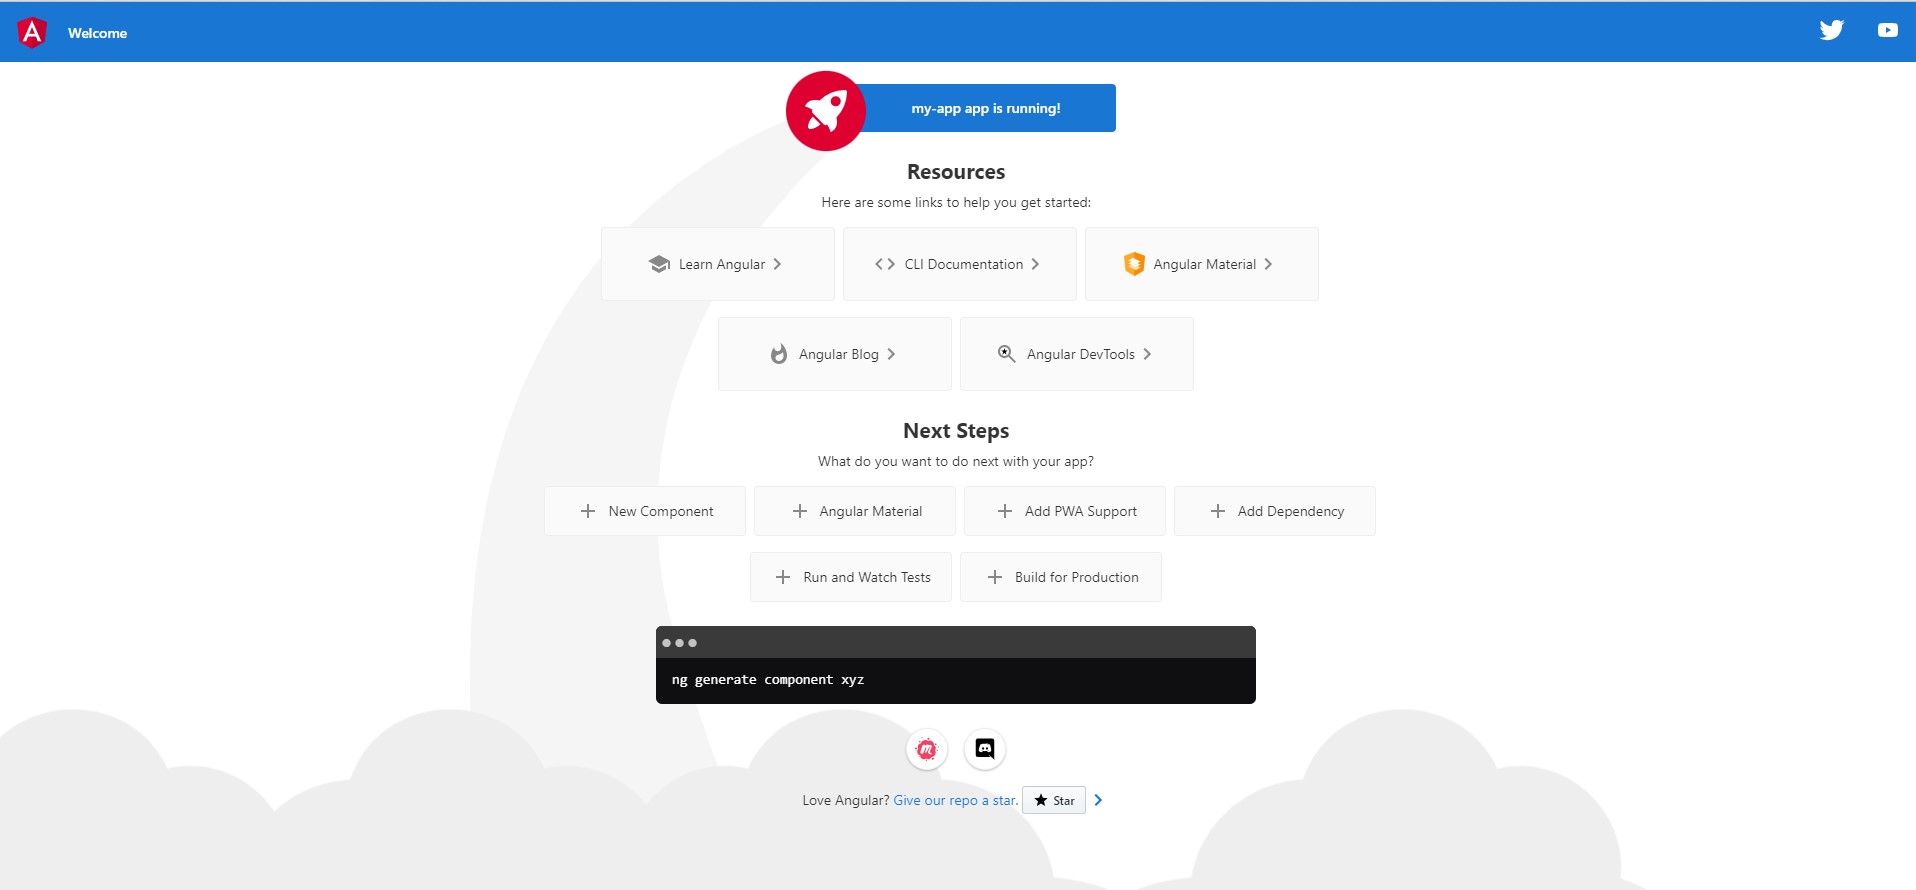
This command has ran the project on my machine at http://localhost:4200/
When you open this page you will see a web default page:
Step 3 – Editing the project:
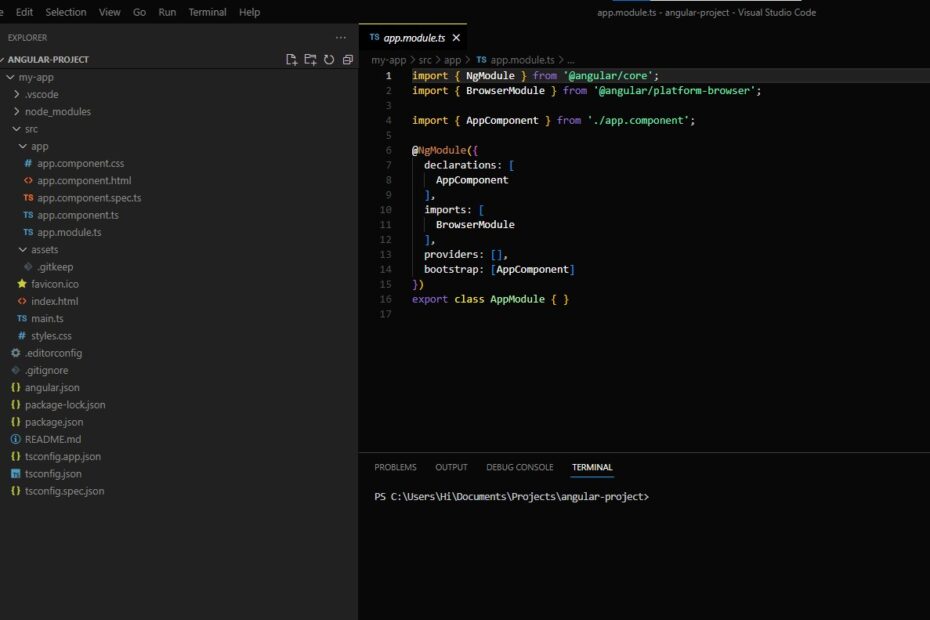
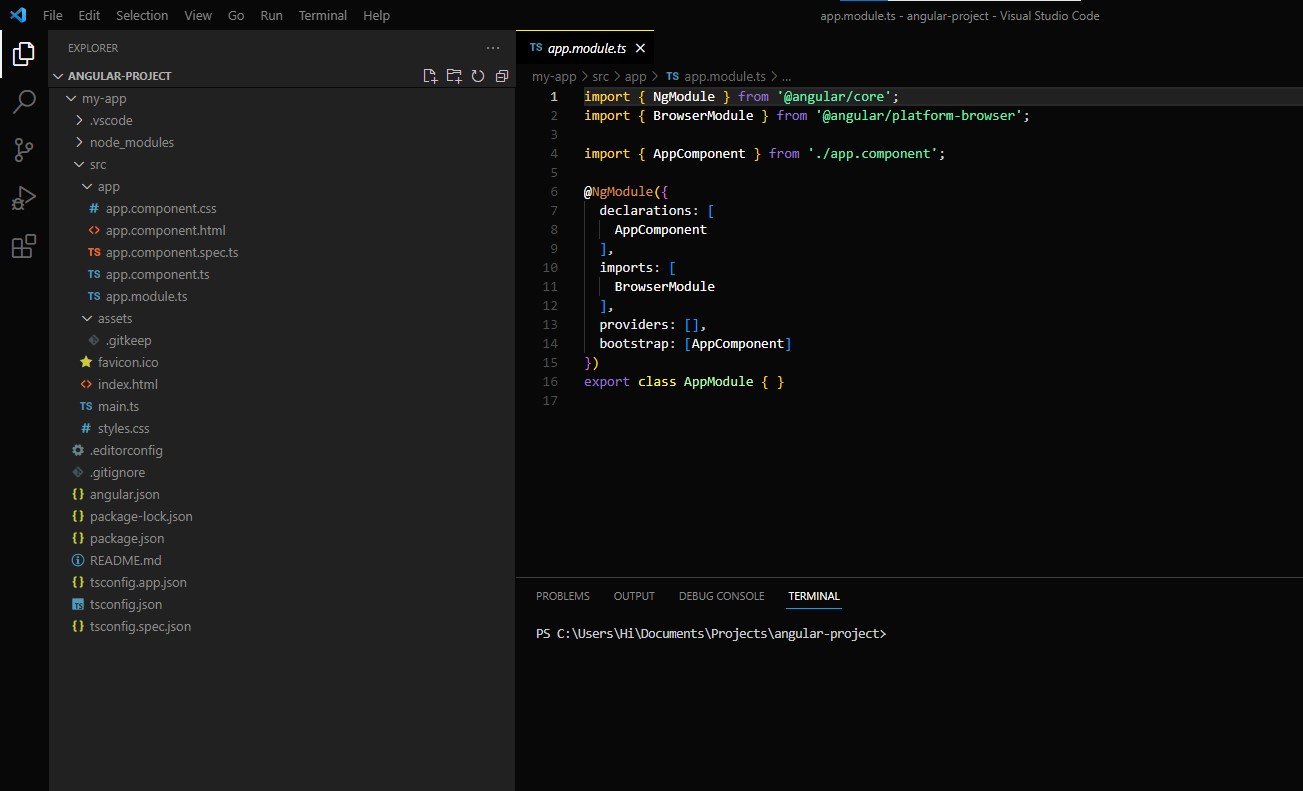
Navigate to src > app folder, you will see app.component.ts.
app.component.ts:
import { Component } from '@angular/core';

@Component({
selector: 'app-root',
templateUrl: './app.component.html',
styleUrls: ['./app.component.css']
})
export class AppComponent {
title = 'my-app';
}
here edit title as “My First App”, you will see this change being reflected on the browser without refreshing the page. This ngModel component is used in app.component.html page. Open the page src > index.html file, you will see
src > index.html:
<!doctype html>
<html lang="en">
<head>
<meta charset="utf-8">
<title>MyApp</title>
<base href="/">
<meta name="viewport" content="width=device-width, initial-scale=1">
<link rel="icon" type="image/x-icon" href="favicon.ico">
</head>
<body>
<app-root></app-root>
</body>
</html>
<app-root></app-root> component is used to bind the angular app.
Now we will see a new ngModel and display it. Open the app.component.ts file and put a new component as below:
src > app > app.component.ts:
import { Component } from '@angular/core';

@Component({
selector: 'app-root',
templateUrl: './app.component.html',
styleUrls: ['./app.component.css']
})
export class AppComponent {
title = 'my-app';
name = "hitesh vikani"
}
Edit the app.component.html file as below:
src > app > app.component.html:
<h1>{{title}}</h1>

<input type="text" class="type" [(ngModel)]="name">
<p>{{name}}</p>
Open app.module.ts and edit it as below:
src > app > app.module.ts:
import { NgModule } from '@angular/core';
import { BrowserModule } from '@angular/platform-browser';
import { FormsModule } from '@angular/forms';
import { AppComponent } from './app.component';

@NgModule({
declarations: [
AppComponent
],
imports: [
BrowserModule,
FormsModule
],
providers: [],
bootstrap: [AppComponent]
})
export class AppModule { }
Now check the browser window to see the changes:
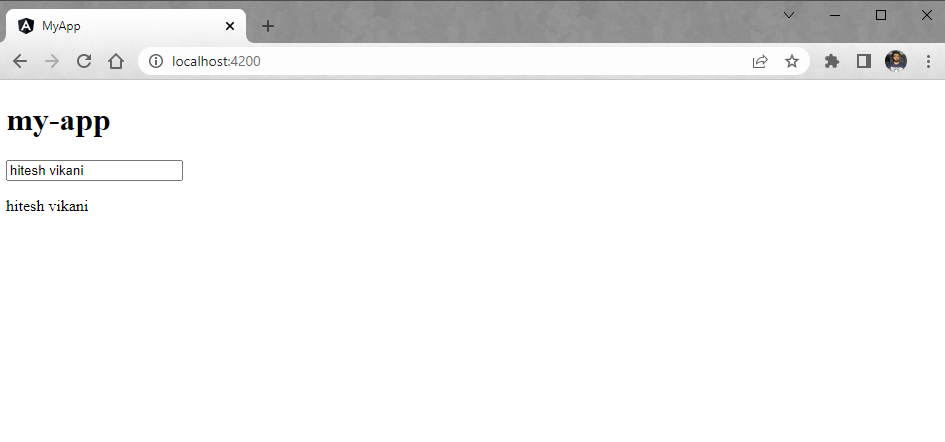
my-app-angular-project-output