In previous post we saw Button with Icons in Xamarin forms. In this post we will create Gradient background for Xamarin forms application using SkiaSharp. Using SkiaSharp library in Xamarin forms we can create fancy UI elements. SkiaSharp is a project created by Google used in many of the application provided by the company. It is open-sourced and can by used by anyone under the BSD Free Software License. You can use it in your Xamarin forms application by installing SkiaSharp.Views.Forms.
In your Project, create a new Xaml page with name MainPage.xaml and edit it as below:
MainPage.xaml:
<?xml version="1.0" encoding="utf-8" ?>
<ContentPage xmlns="http://xamarin.com/schemas/2014/forms"
xmlns:x="http://schemas.microsoft.com/winfx/2009/xaml"
xmlns:local="clr-namespace:XamSkiaSharp"
xmlns:skia="clr-namespace:SkiaSharp.Views.Forms;assembly=SkiaSharp.Views.Forms"
x:Class="XamSkiaSharp.MainPage"
Title="Xamarin Forms Skia Gradient">

<StackLayout HorizontalOptions="FillAndExpand" VerticalOptions="FillAndExpand"
BackgroundColor="#80ffa2" >
<skia:SKCanvasView HorizontalOptions="FillAndExpand" VerticalOptions="FillAndExpand"
x:Name="myCanvas" PaintSurface="myCanvasView_PaintSurface"/>
</StackLayout>

</ContentPage>
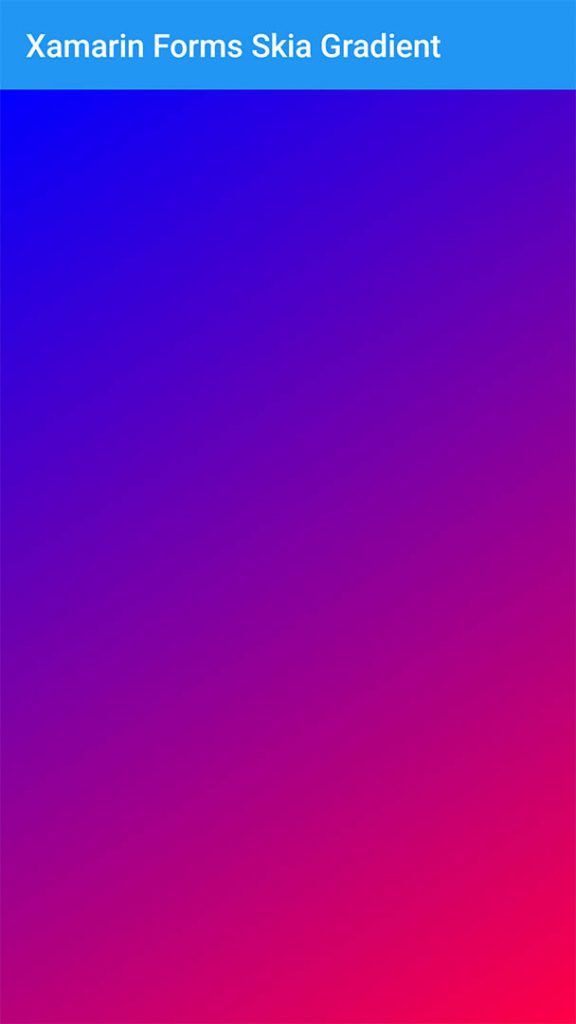
We will use SKCanvasView for creating our Gradient background. This will occupy full screen of our app. We will use Linear gradient. Edit the code behind page like below. This will create a linear pattern on the screen. You can also make use of CreateRadialGradient for creating Radial gradient pattern using Center and the radius, CreateSweepGradient for creating Sweep gradient pattern from the center.
MainPage.xaml.cs:
using SkiaSharp;
using SkiaSharp.Views.Forms;
using System;
using Xamarin.Forms;

namespace XamSkiaSharp
{
public partial class MainPage : ContentPage
{
public MainPage()
{
InitializeComponent();

}

public void myCanvasView_PaintSurface(object sender, SKPaintSurfaceEventArgs args)
{
try
{
SKImageInfo info = args.Info;
SKSurface surface = args.Surface;
SKCanvas canvas = surface.Canvas;

canvas.Clear();

using (SKPaint paint = new SKPaint())
{

SKRect rect = new SKRect(0, 0, info.Width, info.Height);

paint.Shader = SKShader.CreateLinearGradient(
new SKPoint(rect.Left, rect.Top),
new SKPoint(rect.Right, rect.Bottom),
new SKColor[] {new SKColor(0, 0, 255),new SKColor(255,0,70)},
new float[] { 0, 1 },
SKShaderTileMode.Repeat);
canvas.DrawRect(rect, paint);
}
}
catch (Exception ex)
{

}
}
}
}
When you run this app you will get the below screen. You can change the colors by editing new SKColor[] {new SKColor(0, 0, 255),new SKColor(255,0,70)}. This will accept two colors at a time. If want to use HEX colors, use SKColor.Parse. SKColor.Parse will accept HEX color string without the #. Amazing!
Example:
using (SKPaint paint = new SKPaint())
{

SKRect rect = new SKRect(0, 0, info.Width, info.Height);

paint.Shader = SKShader.CreateLinearGradient(
new SKPoint(rect.Left, rect.Top),
new SKPoint(rect.Right, rect.Bottom),
new SKColor[] {SKColor.Parse("db396a"), SKColor.Parse("fbcf6c") },
new float[] { 0, 1 },
SKShaderTileMode.Repeat);
canvas.DrawRect(rect, paint);
}
You can download the source code for this tutorial from the link given below: