In previous post we saw How to use Google Maps in Xamarin forms application. In this post we will see How we can save Images to Gallery using Camera in Xamarin forms application. We will create a simple Xamarin app which we take Images using Camera and save it to a specified Gallery location. For achieving this we will use a nuget package named Xam.Plugin.Media.
Please install this package in your Project using Nuget package manager:

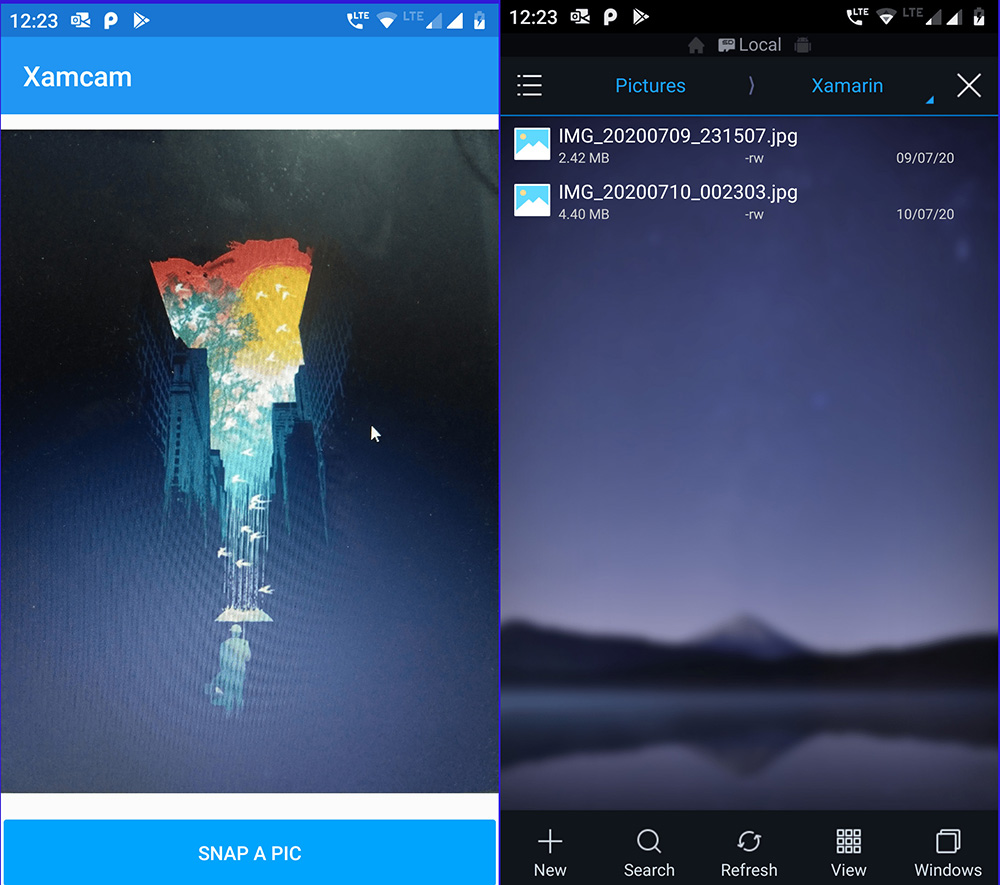
Next we will create a Layout files. Edit the MainPage.xaml page like below. We will only add a Image and a Button control on our mainpage. One to display the captured image from camera and button for opening up the camera.
MainPage.xaml:
<?xml version="1.0" encoding="utf-8" ?>
<ContentPage xmlns="http://xamarin.com/schemas/2014/forms"
xmlns:x="http://schemas.microsoft.com/winfx/2009/xaml"
xmlns:local="clr-namespace:XamCam"
x:Class="XamCam.MainPage">

<Grid>
<Grid.RowDefinitions>
<RowDefinition Height="*" />
<RowDefinition Height="Auto" />
</Grid.RowDefinitions>

<Image x:Name="imgCam" Grid.Row="0" Grid.Column="0"/>

<Button x:Name="btnCam" Text="SNAP A PIC" Grid.Row="1" Grid.Column="0" Margin="2" Clicked="BtnCam_Clicked"
BackgroundColor="#00a4fc" TextColor="#FFF"/>
</Grid>
</ContentPage>
Now edit the code file of this xaml page to create a function for opening up the camera and displaying the image like below:
using Plugin.Media;
using Plugin.Media.Abstractions;
using System;
using Xamarin.Forms;

namespace XamCam
{
public partial class MainPage : ContentPage
{

public MainPage()
{
InitializeComponent();
NavigationPage.SetHasNavigationBar(this, true);
this.Title = "Xamcam";
}

private async void BtnCam_Clicked(object sender, EventArgs e)
{
try
{
var photo = await CrossMedia.Current.TakePhotoAsync(new StoreCameraMediaOptions()
{
DefaultCamera = Plugin.Media.Abstractions.CameraDevice.Rear,
Directory = "Xamarin",
SaveToAlbum = true
});

if (photo != null)
imgCam.Source = ImageSource.FromStream(() => { return photo.GetStream(); });

}
catch (Exception ex)
{
await DisplayAlert("Error", ex.Message.ToString(), "Ok");
}
}

}
}
We will use CrossMedia.Current.TakePhotoAsync from Plugin.Media nuget package. This has several options. You can goto its declaration by pressing F12 on it or refer to official MediaPlugIn read me on Github. Here we will be setting the default Camera to Rear Camera of our Phone, setting the save image file path to “Xamarin” Folder and passing the SaveToAlbum attribute as true to save our picture. Make sure you create a new folder inside your Picture folder of your Android device. For iPhone, I think it will by default save images to Gallery. You can try it as I don’t have iPhone to test this. 😕 Okay.
Granting Permissions:
Now that you have completed the code, you will have to grant permissions or else this will not work.
Android:
On Android we will have to also create file system provider for our application. This way Android will be knowing where to store the captured images. Declare permission for accessing the Camera and External-Storage permissions. android.permission.WRITE_EXTERNAL_STORAGE, android.permission.READ_EXTERNAL_STORAGE, android.permission.CAMERA
AndroidManifest.xml:
<?xml version="1.0" encoding="utf-8"?>
<manifest xmlns:android="http://schemas.android.com/apk/res/android" android:versionCode="1" android:versionName="1.0"
package="com.parallelcodes.XamCam" android:installLocation="auto">
<uses-sdk android:minSdkVersion="21" android:targetSdkVersion="28" />
<uses-permission android:name="android.permission.CAMERA" />
<uses-permission android:name="android.permission.READ_EXTERNAL_STORAGE" />
<uses-permission android:name="android.permission.WRITE_EXTERNAL_STORAGE" />
<application android:label="XamCam">

<provider android:name="android.support.v4.content.FileProvider" android:authorities="com.parallelcodes.XamCam.fileprovider"
android:exported="false" android:grantUriPermissions="true">
<meta-data android:name="android.support.FILE_PROVIDER_PATHS" android:resource="@xml/file_paths"></meta-data>
</provider>
</application>
</manifest>
Important : The provider authorities must contain $YourPackageName.fileprovider or else this will not work. For example my app’s package name is “com.parallelcodes.XamCam” so I have used android:authorities=”com.parallelcodes.XamCam.fileprovider”.
Create a new folder inside your Android’s project with name xml and create a file_path file like below:
AndroidProject > Resources > xml > file_paths.xml:
<?xml version="1.0" encoding="utf-8"?>
<paths xmlns:android="http://schemas.android.com/apk/res/android">
<external-files-path name="my_images" path="Pictures" />
</paths>
And in MainActivity.cs file initialize CrossMedia as below:
MainActivity.cs:
using Android.App;
using Android.Content.PM;
using Android.OS;
using Plugin.Media;

namespace XamCam.Droid
{
[Activity(Label = "XamCam", Icon = "@mipmap/icon", Theme = "@style/MainTheme", MainLauncher = true, ConfigurationChanges = ConfigChanges.ScreenSize | ConfigChanges.Orientation)]
public class MainActivity : global::Xamarin.Forms.Platform.Android.FormsAppCompatActivity
{
protected override async void OnCreate(Bundle savedInstanceState)
{
TabLayoutResource = Resource.Layout.Tabbar;
ToolbarResource = Resource.Layout.Toolbar;

base.OnCreate(savedInstanceState);
Xamarin.Essentials.Platform.Init(this, savedInstanceState);
await CrossMedia.Current.Initialize();
global::Xamarin.Forms.Forms.Init(this, savedInstanceState);
LoadApplication(new App());
}
}
}
iOS Permissions:
On iOS project, open the info.plist file and add the following declaration for accessing the camera and saving it to gallery. NSCameraUsageDescription & NSPhotoLibraryUsageDescription for accessing Camera and Photo library. NSPhotoLibraryAddUsageDescription for saving images to gallery. Add following in info.plist file
Info.plist:
<key>NSCameraUsageDescription</key>
<string>App requires permission to Camera for taking Pictures.</string>
<key>NSPhotoLibraryUsageDescription</key>
<string>App requires permission to access Photos</string>
<key>NSPhotoLibraryAddUsageDescription</key>
<string>App requires permission to save Pictures to Gallery.</string>
All set. Run your App.
References used in this tutorial:
Github – MediaPlugIn ReadME.
Also see:
How to use Google Maps on Xamarin Forms application?
How to play videos in Xamarin forms application?
Using Behaviors and Validations on Xamarin Forms.