Hi Developers,
In this post let’s see how we can upload and retrieve images to Firebase storage using Android studio. Before starting with this, please see the video below so as to prepare your Google Firebase project for this tutorial.
We will have to-
- Turn ON Google Firebase Authentication and add a new user from console to login in our Android application.
- Turn ON Google Firebase Storage so that we can upload and retrieve images uploaded from our Android Application.
- Add this features to our Android Project using Firebase assistant provided in Android studio.
Okay. Let’s start creating the application.
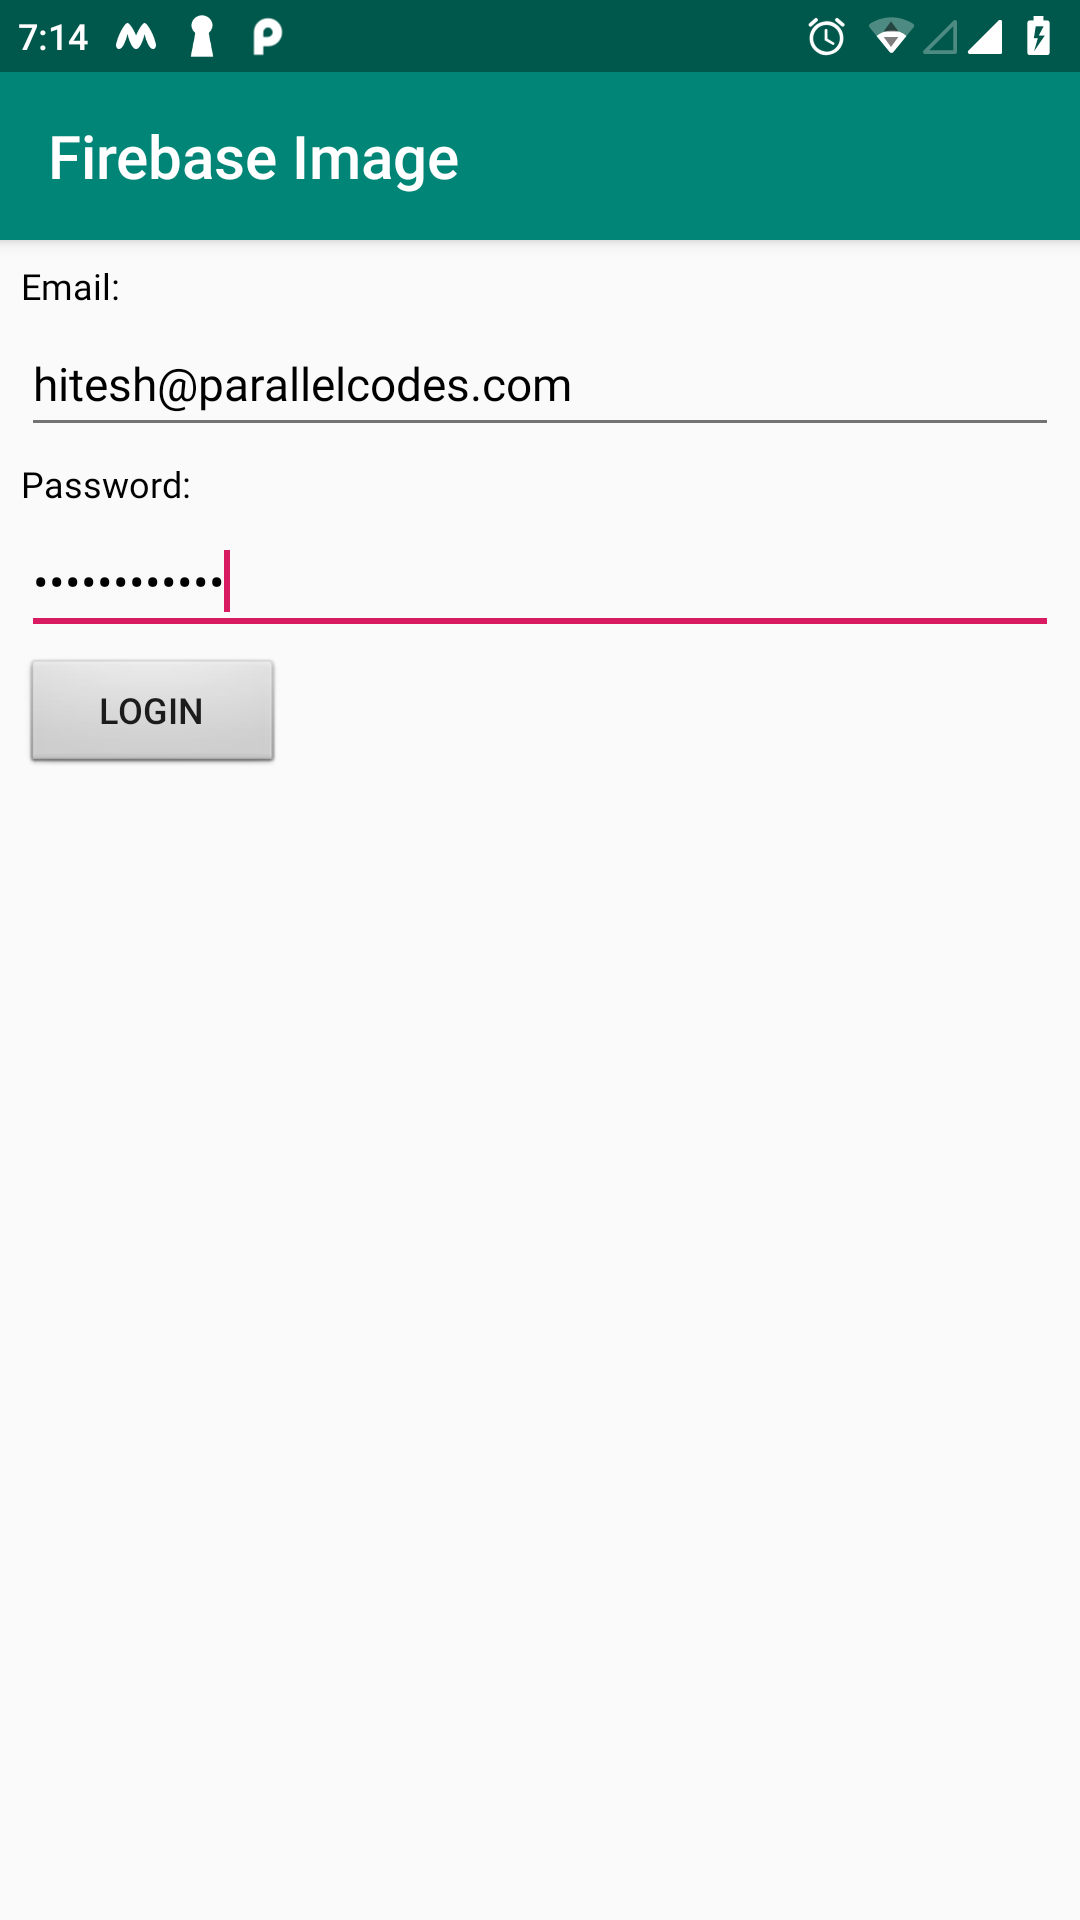
This application will be having a simple Firebase authentication Login screen. For the first time users will have to login into the app and next time the firebase auth will check for the user and directly move to the main page, where one can upload images on Firebase and retrieve it back using the image url.
Create a new layout file with name login.xml in your res layout folder and edit it as below:
res > layout > login.xml:

<?xml version="1.0" encoding="utf-8"?>
<LinearLayout xmlns:android="http://schemas.android.com/apk/res/android"
android:layout_width="match_parent"
android:layout_height="match_parent"
android:orientation="vertical"
android:padding="5dp">

<TextView
android:layout_width="match_parent"
android:layout_height="wrap_content"
android:layout_margin="2dp"
android:text="Email:"
android:textColor="#000" />

<EditText
android:id="@+id/edtEmail"
android:layout_width="match_parent"
android:layout_height="wrap_content"
android:layout_margin="2dp"
android:hint="Email Address"
android:textColor="#000" />

<TextView
android:layout_width="match_parent"
android:layout_height="wrap_content"
android:layout_margin="2dp"
android:text="Password:"
android:textColor="#000" />

<EditText
android:id="@+id/edtPassword"
android:layout_width="match_parent"
android:layout_height="wrap_content"
android:layout_margin="2dp"
android:hint="Password"
android:inputType="textPassword"
android:textColor="#000" />

<Button
android:id="@+id/btnLogin"
android:layout_width="wrap_content"
android:layout_height="40dp"
android:layout_margin="2dp"
android:background="@android:drawable/btn_default"
android:text="Login" />
</LinearLayout>
This will be our Login form.
Edit activity_main.xml file as below:
res>layout>activity_main.xml
<?xml version="1.0" encoding="utf-8"?>
<LinearLayout xmlns:android="http://schemas.android.com/apk/res/android"
android:layout_width="match_parent"
android:padding="5dp"
android:layout_height="match_parent"
android:orientation="vertical">

<TextView
android:layout_width="wrap_content"
android:layout_height="wrap_content"
android:layout_margin="2dp"
android:text="Image to Upload"
android:textColor="#000" />

<ImageView
android:id="@+id/imgSource"
android:layout_width="200dp"
android:layout_height="200dp"
android:layout_margin="2dp" />

<TextView
android:layout_width="wrap_content"
android:layout_height="wrap_content"
android:layout_margin="2dp"
android:text="Downloaded Image"
android:textColor="#000" />

<ImageView
android:id="@+id/img"
android:layout_width="200dp"
android:layout_height="200dp"
android:layout_margin="2dp" />

<LinearLayout
android:id="@+id/lv"
android:layout_width="match_parent"
android:layout_height="wrap_content"
android:orientation="horizontal">

<Button
android:id="@+id/btnPickImage"
android:layout_width="wrap_content"
android:layout_height="wrap_content"
android:layout_margin="2dp"
android:background="@android:drawable/btn_default_small"
android:text="Pick Image" />

<Button
android:id="@+id/btnUpload"
android:layout_width="wrap_content"
android:layout_height="wrap_content"
android:layout_margin="2dp"
android:background="@android:drawable/btn_default_small"
android:text="Upload" />
</LinearLayout>

<ProgressBar
android:id="@+id/pbbar"
android:layout_width="wrap_content"
android:layout_height="wrap_content" />

</LinearLayout>
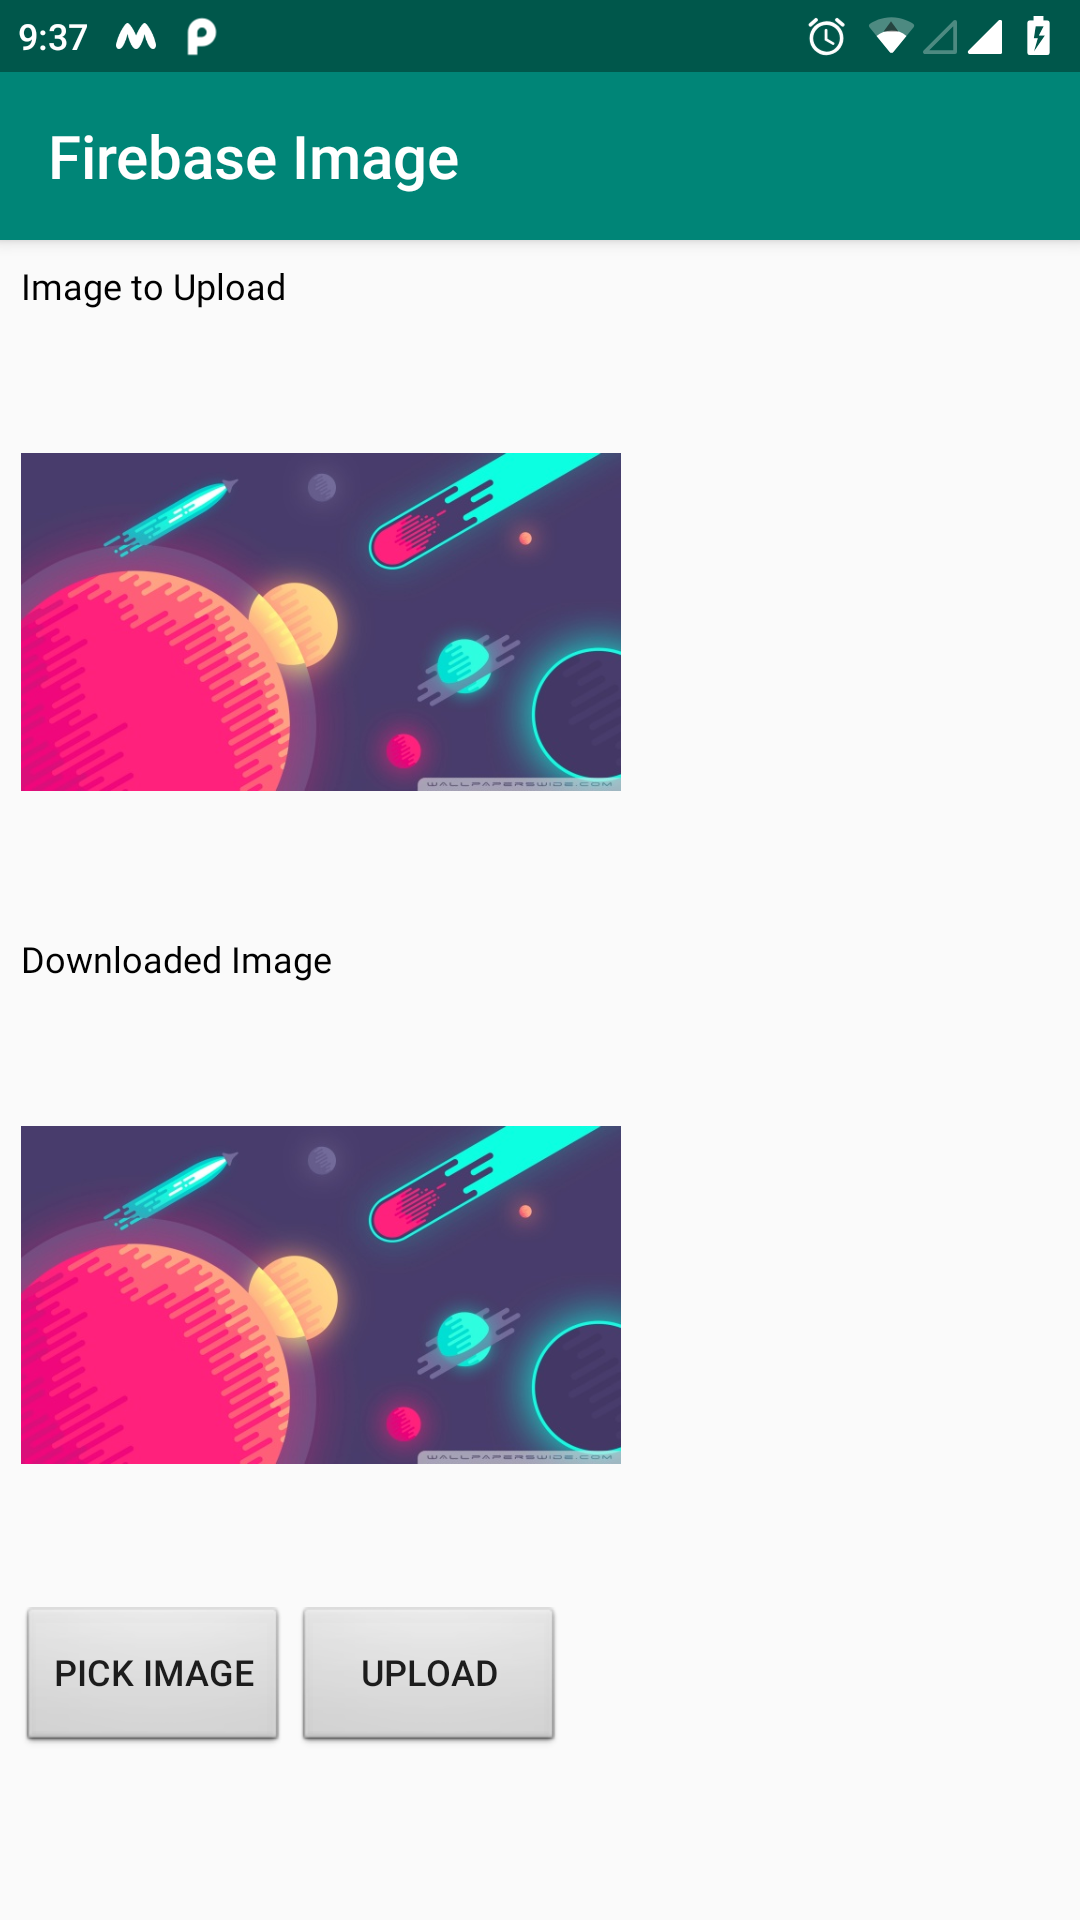
This will be design of this layout:
Now let’s code this Android application.
Make a new java file with name Login.java and edit it as below:
Login.java:
package com.my.firebaseimage;

import android.content.Intent;
import android.os.Bundle;
import android.support.annotation.NonNull;
import android.support.v7.app.AppCompatActivity;
import android.view.View;
import android.widget.Button;
import android.widget.EditText;
import android.widget.Toast;

import com.google.android.gms.tasks.OnCompleteListener;
import com.google.android.gms.tasks.Task;
import com.google.firebase.auth.AuthResult;
import com.google.firebase.auth.FirebaseAuth;
import com.google.firebase.auth.FirebaseUser;

public class Login extends AppCompatActivity {

private FirebaseAuth mAuth;
EditText edtEmail, edtPassword;
Button btnLogin;
FirebaseUser user;

@Override
protected void onCreate(Bundle savedInstanceState) {
super.onCreate(savedInstanceState);
setContentView(R.layout.login);

mAuth = FirebaseAuth.getInstance();
user = mAuth.getCurrentUser();
if (user == null)
Toast.makeText(Login.this, "First time user", Toast.LENGTH_SHORT).show();
else
startActivity(new Intent(Login.this, MainActivity.class));
edtEmail = findViewById(R.id.edtEmail);
edtPassword = findViewById(R.id.edtPassword);

btnLogin = findViewById(R.id.btnLogin);

btnLogin.setOnClickListener(new View.OnClickListener() {
@Override
public void onClick(View v) {
mAuth.signInWithEmailAndPassword(edtEmail.getText().toString(), edtPassword.getText().toString())
.addOnCompleteListener(Login.this, new OnCompleteListener<AuthResult>() {
@Override
public void onComplete(@NonNull Task<AuthResult> task) {
if (task.isSuccessful()) {
user = mAuth.getCurrentUser();
Intent i = new Intent(Login.this, MainActivity.class);
startActivity(i);
} else {
Toast.makeText(Login.this, "Authentication failed.",
Toast.LENGTH_SHORT).show();
}
}
});
}
});

}

@Override
public void onStart() {
super.onStart();
user = mAuth.getCurrentUser();
}
}
When the application starts for the very first time, users have to login in the application. After that users will be directly directed to the activity where they can upload Images to Google Firebase.
And edit your MainActivity.java file as below:
MainActivity.java
package com.my.firebaseimage;

import android.content.Intent;
import android.graphics.Bitmap;
import android.graphics.BitmapFactory;
import android.net.Uri;
import android.os.AsyncTask;
import android.os.Bundle;
import android.os.Environment;
import android.support.annotation.NonNull;
import android.support.v7.app.AppCompatActivity;
import android.util.Log;
import android.view.View;
import android.widget.Button;
import android.widget.ImageView;
import android.widget.LinearLayout;
import android.widget.ProgressBar;
import android.widget.Toast;

import com.google.android.gms.tasks.Continuation;
import com.google.android.gms.tasks.OnCompleteListener;
import com.google.android.gms.tasks.Task;
import com.google.firebase.auth.FirebaseAuth;
import com.google.firebase.auth.FirebaseUser;
import com.google.firebase.database.DatabaseReference;
import com.google.firebase.database.FirebaseDatabase;
import com.google.firebase.storage.FirebaseStorage;
import com.google.firebase.storage.StorageReference;
import com.google.firebase.storage.UploadTask;

import java.io.FileNotFoundException;
import java.io.InputStream;
import java.nio.charset.MalformedInputException;
import java.text.DateFormat;
import java.text.SimpleDateFormat;
import java.util.Calendar;

public class MainActivity extends AppCompatActivity {
private StorageReference mStorageRef;

Button btnPickImage, btnUpload;
ImageView imgSource, imgDestination;
LinearLayout lv;
Uri selectedImage;
ProgressBar pbbar;
DatabaseReference databaseReference, childReference;
private static final int REQUEST_TAKE_GALLERY_PHOTO = 2;
StorageReference fireRef;
private FirebaseAuth mAuth;
FirebaseUser currentUser;
String imageURL = "";

@Override
protected void onCreate(Bundle savedInstanceState) {
super.onCreate(savedInstanceState);
setContentView(R.layout.activity_main);

mAuth = FirebaseAuth.getInstance();
currentUser = mAuth.getCurrentUser();

pbbar = findViewById(R.id.pbbar);
pbbar.setVisibility(View.GONE);

lv = findViewById(R.id.lv);
mStorageRef = FirebaseStorage.getInstance().getReference();
databaseReference = FirebaseDatabase.getInstance().getReference();

btnPickImage = findViewById(R.id.btnPickImage);
btnUpload = findViewById(R.id.btnUpload);

imgSource = findViewById(R.id.imgSource);
imgDestination = findViewById(R.id.img);
btnPickImage.setOnClickListener(new View.OnClickListener() {
@Override
public void onClick(View v) {
if (Environment.getExternalStorageState().equals(
Environment.MEDIA_MOUNTED)
&& !Environment.getExternalStorageState().equals(
Environment.MEDIA_CHECKING)) {
Intent intent = new Intent(Intent.ACTION_PICK);
intent.setType("image/*");
startActivityForResult(intent, REQUEST_TAKE_GALLERY_PHOTO);

} else
Toast.makeText(MainActivity.this, "No gallery found.", Toast.LENGTH_SHORT).show();
}
});

btnUpload.setOnClickListener(new View.OnClickListener() {
@Override
public void onClick(View v) {
UploadImages();
}
});

}

@Override
protected void onActivityResult(int requestCode, int resultCode, Intent data) {
super.onActivityResult(requestCode, resultCode, data);

if (resultCode == RESULT_OK) {
if (requestCode == REQUEST_TAKE_GALLERY_PHOTO) {
Bitmap originBitmap = null;
selectedImage = data.getData();
InputStream imageStream;
try {
pbbar.setVisibility(View.VISIBLE);
imageStream = getContentResolver().openInputStream(
selectedImage);
originBitmap = BitmapFactory.decodeStream(imageStream);
} catch (FileNotFoundException e) {
e.printStackTrace();
}
if (originBitmap != null) {
{
this.imgSource.setImageBitmap(originBitmap);
pbbar.setVisibility(View.GONE);
imgSource.setVisibility(View.VISIBLE);
}
} else
selectedImage = null;
}

}
}

public String GetDate() {
DateFormat df = new SimpleDateFormat("yyyyMMddHHmmss");
String currentdate = df.format(Calendar.getInstance().getTime());
return currentdate;
}

public void UploadImages() {
try {
pbbar.setVisibility(View.VISIBLE);
lv.setVisibility(View.GONE);

String strFileName = GetDate() + "img.jpg";

Uri file = selectedImage;

fireRef = mStorageRef.child("images/" + currentUser.getUid().toString() + "/" + strFileName);

UploadTask uploadTask = fireRef.putFile(file);
Log.e("Fire Path", fireRef.toString());
Task<Uri> urlTask = uploadTask.continueWithTask(new Continuation<UploadTask.TaskSnapshot, Task<Uri>>() {
@Override
public Task<Uri> then(@NonNull Task<UploadTask.TaskSnapshot> task) throws Exception {
if (!task.isSuccessful()) {
throw task.getException();
}
return fireRef.getDownloadUrl();
}
}).addOnCompleteListener(new OnCompleteListener<Uri>() {
@Override
public void onComplete(@NonNull Task<Uri> task) {
if (task.isSuccessful()) {
Uri downloadUri = task.getResult();
Log.e("Image URL", downloadUri.toString());

pbbar.setVisibility(View.GONE);
selectedImage = null;
imageURL = downloadUri.toString();
} else {
Toast.makeText(MainActivity.this, "Image upload unsuccessful. Please try again."
, Toast.LENGTH_LONG).show();
}
pbbar.setVisibility(View.GONE);
lv.setVisibility(View.VISIBLE);

DownloadImageFromURL downloadImageFromURL = new DownloadImageFromURL();
downloadImageFromURL.execute("");
}
});
} catch (Exception ex) {
Toast.makeText(MainActivity.this, ex.getMessage().toString(), Toast.LENGTH_LONG).show();
}
}

private class DownloadImageFromURL extends AsyncTask<String, Void, String> {
Bitmap bitmap = null;

@Override
protected void onPreExecute() {

}

protected String doInBackground(String... urls) {
try {
Log.e("imageURL is ", imageURL);
InputStream in = new java.net.URL(imageURL).openStream();
if (in != null) {
bitmap = BitmapFactory.decodeStream(in);
} else
Log.e("Empty InputStream", "InputStream is empty.");
} catch (MalformedInputException e) {
Log.e("Error URL", e.getMessage().toString());
} catch (Exception ex) {
Log.e("Input stream error", "Input stream error");
}
return "";
}

protected void onPostExecute(String result) {
if (bitmap != null) {
imgDestination.setImageBitmap(bitmap);
} else
Log.e("Empty Bitmap", "Bitmap is empty.");
}
}

}
After uploading the images to firebase storage, the async method will retrieve the image using the Image url from the uploading method.
Also add permissions to your Android Manisfest file for using Internet or Wifi and Storage:
AndroidManifest.xml:
<?xml version="1.0" encoding="utf-8"?>
<manifest xmlns:android="http://schemas.android.com/apk/res/android"
package="com.my.firebaseimage">

<uses-permission android:name="android.permission.WRITE_EXTERNAL_STORAGE" />
<uses-permission android:name="android.permission.READ_EXTERNAL_STORAGE" />

<uses-permission android:name="android.permission.INTERNET" />
<uses-permission android:name="android.permission.ACCESS_NETWORK_STATE" />
<uses-permission android:name="android.permission.ACCESS_WIFI_STATE" />

<application
android:allowBackup="true"
android:icon="@drawable/login"
android:label="@string/app_name"

android:supportsRtl="true"
android:theme="@style/AppTheme">
<activity android:name=".Login"
android:screenOrientation="portrait">
<intent-filter>
<action android:name="android.intent.action.MAIN" />

<category android:name="android.intent.category.LAUNCHER" />
</intent-filter>
</activity>
<activity android:name=".MainActivity"
android:screenOrientation="portrait"/>
</application>

</manifest>
This way you can Upload and Retrieve images from Google Firebase on Android.
Thanks for Reading. Hope you found this post helpful. 🙂
Pingback: Download Source code 21 - ParallelCodes