Hi Developers,
In this post let’s see how we can create an animated splash screen in Android. The splash screen will have an imageview and four Android LinearLayout which will have Android Fadeout animations.
How to create Android Splash Screen?
Download this icon from Iconfinder.com
Copy this icon into your Android Project’s res>drawable folder as
res >drawable>logo.png
![]()
Edit your activity_main.xml file as below:
res>layout>activity_main.xml:
<?xml version="1.0" encoding="utf-8"?>
<RelativeLayout xmlns:android="http://schemas.android.com/apk/res/android"
xmlns:app="http://schemas.android.com/apk/res-auto"
xmlns:tools="http://schemas.android.com/tools"
android:layout_width="match_parent"
android:layout_height="match_parent"
tools:context=".MainActivity">

<ImageView
android:layout_width="200dp"
android:layout_height="200dp"
android:layout_centerInParent="true"
android:src="@drawable/logo" />

<LinearLayout
android:layout_width="match_parent"
android:layout_height="match_parent"
android:background="@android:color/transparent"
android:orientation="vertical"
android:weightSum="2">

<LinearLayout
android:layout_width="match_parent"
android:layout_height="0dp"
android:layout_margin="0dp"
android:layout_weight="1"
android:background="@android:color/transparent"
android:orientation="horizontal"
android:weightSum="2">

<LinearLayout
android:id="@+id/linear1"
android:layout_width="0dp"
android:layout_height="match_parent"
android:layout_weight="1"
android:background="#fff"
android:orientation="vertical" />

<LinearLayout
android:id="@+id/linear2"
android:layout_width="0dp"
android:layout_height="match_parent"
android:layout_weight="1"
android:background="#fff"
android:orientation="vertical" />
</LinearLayout>

<LinearLayout
android:layout_width="match_parent"
android:layout_height="0dp"
android:layout_margin="0dp"
android:layout_weight="1"
android:background="@android:color/transparent"
android:orientation="horizontal"
android:weightSum="2">

<LinearLayout
android:id="@+id/linear3"
android:layout_width="0dp"
android:layout_height="match_parent"
android:layout_weight="1"
android:background="#fff"
android:orientation="vertical" />

<LinearLayout
android:id="@+id/linear4"
android:layout_width="0dp"
android:layout_height="match_parent"
android:layout_weight="1"
android:background="#fff"
android:orientation="vertical" />

</LinearLayout>

</LinearLayout>

</RelativeLayout>
The four LinearLayout with Id properties will fadeout in a sequential pattern and it will create an animated feel.
 Create another android layout file with name welcome.xml. This will get called like a start page after Android Splash activity.
res >layout >welcome.xml:
<?xml version="1.0" encoding="utf-8"?>
<RelativeLayout xmlns:android="http://schemas.android.com/apk/res/android"
xmlns:app="http://schemas.android.com/apk/res-auto"
xmlns:tools="http://schemas.android.com/tools"
android:layout_width="match_parent"
android:layout_height="match_parent"
android:background="#fff">

<TextView
android:layout_width="wrap_content"
android:layout_height="wrap_content"
android:layout_centerInParent="true"
android:text="WELCOME"
android:textStyle="bold"
android:textColor="#000"
android:textSize="40sp" />
</RelativeLayout>
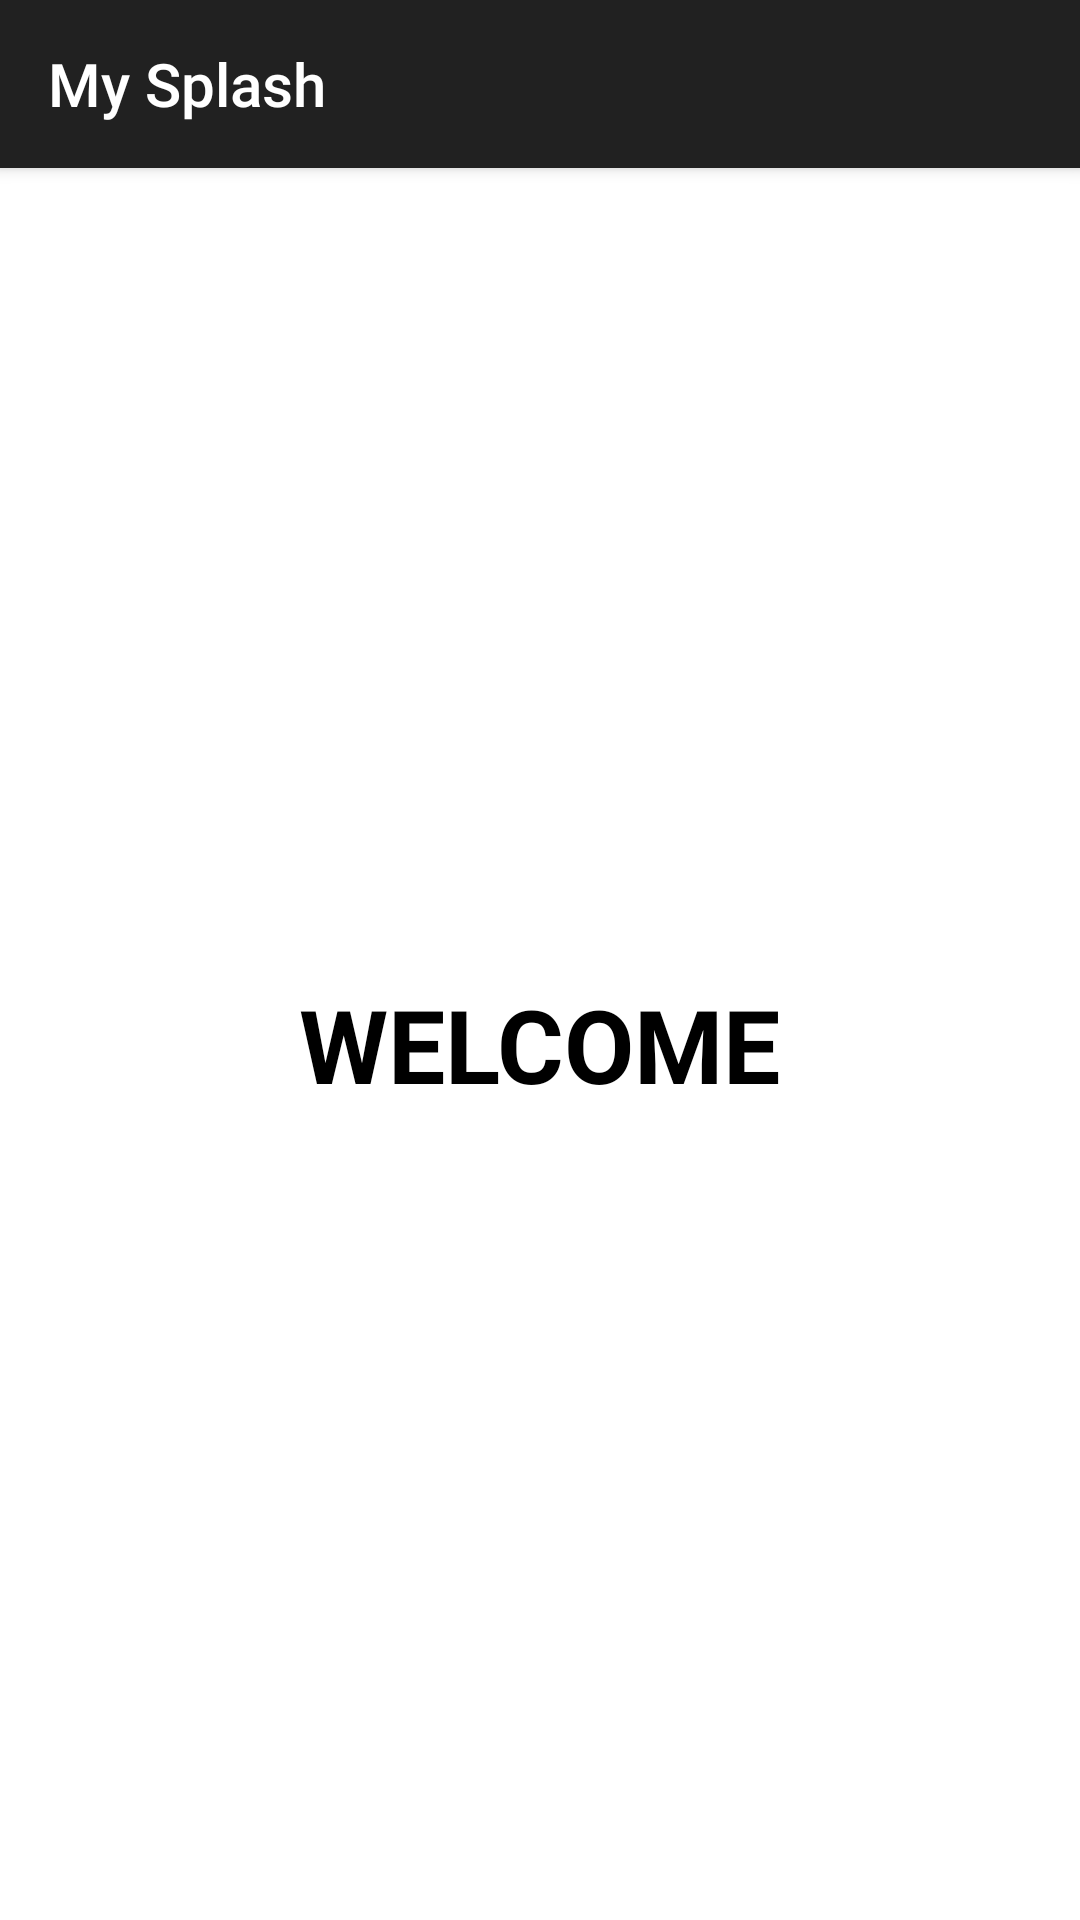
This will only contain Android TextView with Welcome text in the center of the screen.
 Create anim folder inside res folder and animation file with name fade_out.xml
res>anim>fade_out.xml
<?xml version="1.0" encoding="utf-8"?>
<set xmlns:android="http://schemas.android.com/apk/res/android"
android:interpolator="@android:anim/linear_interpolator">
<alpha
android:duration="500"
android:fromAlpha="1.0"
android:toAlpha="0.0" >
</alpha>
</set>
Now edit your MainActivity.java file as below:
MainActivity.java:
package com.my.mysplash;

import android.content.Intent;
import android.graphics.Color;
import android.support.v7.app.AppCompatActivity;
import android.os.Bundle;
import android.util.Log;
import android.view.animation.Animation;
import android.view.animation.AnimationUtils;
import android.widget.LinearLayout;

public class MainActivity extends AppCompatActivity {

LinearLayout linear1, linear2, linear3, linear4;
int i = 1;
Animation fadeOut;

@Override
protected void onCreate(Bundle savedInstanceState) {
super.onCreate(savedInstanceState);
setContentView(R.layout.activity_main);

linear1 = findViewById(R.id.linear1);
linear2 = findViewById(R.id.linear2);
linear3 = findViewById(R.id.linear3);
linear4 = findViewById(R.id.linear4);

fadeOut = AnimationUtils.loadAnimation(getApplicationContext(), R.anim.fade_out);
linear1.startAnimation(fadeOut);

fadeOut.setAnimationListener(new Animation.AnimationListener() {
@Override
public void onAnimationStart(Animation animation) {

}

@Override
public void onAnimationEnd(Animation animation) {
Log.e("Value of i", String.valueOf(i));
if (i == 1) {
i++;
linear1.setBackgroundColor(Color.TRANSPARENT);
linear2.startAnimation(fadeOut);

} else if (i == 2) {
i++;
linear2.setBackgroundColor(Color.TRANSPARENT);
linear3.startAnimation(fadeOut);

} else if (i == 3) {
i++;
linear3.setBackgroundColor(Color.TRANSPARENT);
linear4.startAnimation(fadeOut);

} else if (i == 4) {
i++;
linear4.setBackgroundColor(Color.TRANSPARENT);
linear1.startAnimation(fadeOut);

} else {
startActivity(new Intent(MainActivity.this, Welcome.class));
}
}

@Override
public void onAnimationRepeat(Animation animation) {

}
});
}
}
From the code you can see I’m animating each Android LinearLayout after its first one animation ends. This way Logo revealing effect is created but part by part.
Add another java file with name Welcome.java. This will be called once all the layout has animated sequentially and close the splash screen.
Welcome.java:
package com.my.mysplash;

import android.graphics.Color;
import android.os.Bundle;
import android.support.v7.app.AppCompatActivity;
import android.util.Log;
import android.view.animation.Animation;
import android.view.animation.AnimationUtils;
import android.widget.LinearLayout;

public class Welcome extends AppCompatActivity {
@Override
protected void onCreate(Bundle savedInstanceState) {
super.onCreate(savedInstanceState);
setContentView(R.layout.welcome);

}
}
And here is my Android Manifest file, in case you need it. 🙂
AndroidManifest.xml:
<?xml version="1.0" encoding="utf-8"?>
<manifest xmlns:android="http://schemas.android.com/apk/res/android"
package="com.my.mysplash">

<application
android:allowBackup="true"
android:icon="@mipmap/ic_launcher"
android:label="@string/app_name"
android:roundIcon="@mipmap/ic_launcher_round"
android:supportsRtl="true"
android:theme="@style/AppTheme">
<activity
android:name=".MainActivity"
android:theme="@style/Theme.AppCompat.Light.NoActionBar.FullScreen">
<intent-filter>
<action android:name="android.intent.action.MAIN" />

<category android:name="android.intent.category.LAUNCHER" />
</intent-filter>
</activity>
<activity
android:name=".Welcome"
android:theme="@style/Theme.AppCompat" />
</application>

</manifest>
And my Styles.xml
res>values>styles.xml:
<resources>

<!-- Base application theme. -->
<style name="AppTheme" parent="Theme.AppCompat.Light.DarkActionBar">
<!-- Customize your theme here. -->
<item name="colorPrimary">@color/colorPrimary</item>
<item name="colorPrimaryDark">@color/colorPrimaryDark</item>
<item name="colorAccent">@color/colorAccent</item>
</style>

<style name="Theme.AppCompat.Light.NoActionBar.FullScreen" parent="@style/Theme.AppCompat.Light.NoActionBar">
<item name="android:windowNoTitle">true</item>
<item name="android:windowActionBar">false</item>
<item name="android:windowFullscreen">true</item>
<item name="android:windowContentOverlay">@null</item>
</style>
</resources>
Thank You for Reading :).
Hope you found this helpful.