In this post let’s see how we can change Fonts or Typeface of our Android application. Using different fonts in our Android application we can highlight different elements of our applications and they also do play a vital role in UI experience of our final application. So it is quite important to choose the best font in making up an awesome UI.change Fonts Typeface in Android Application
The following application will set font or typeface of an Android Textview with 6 different Fonts, which changes on a button click method.
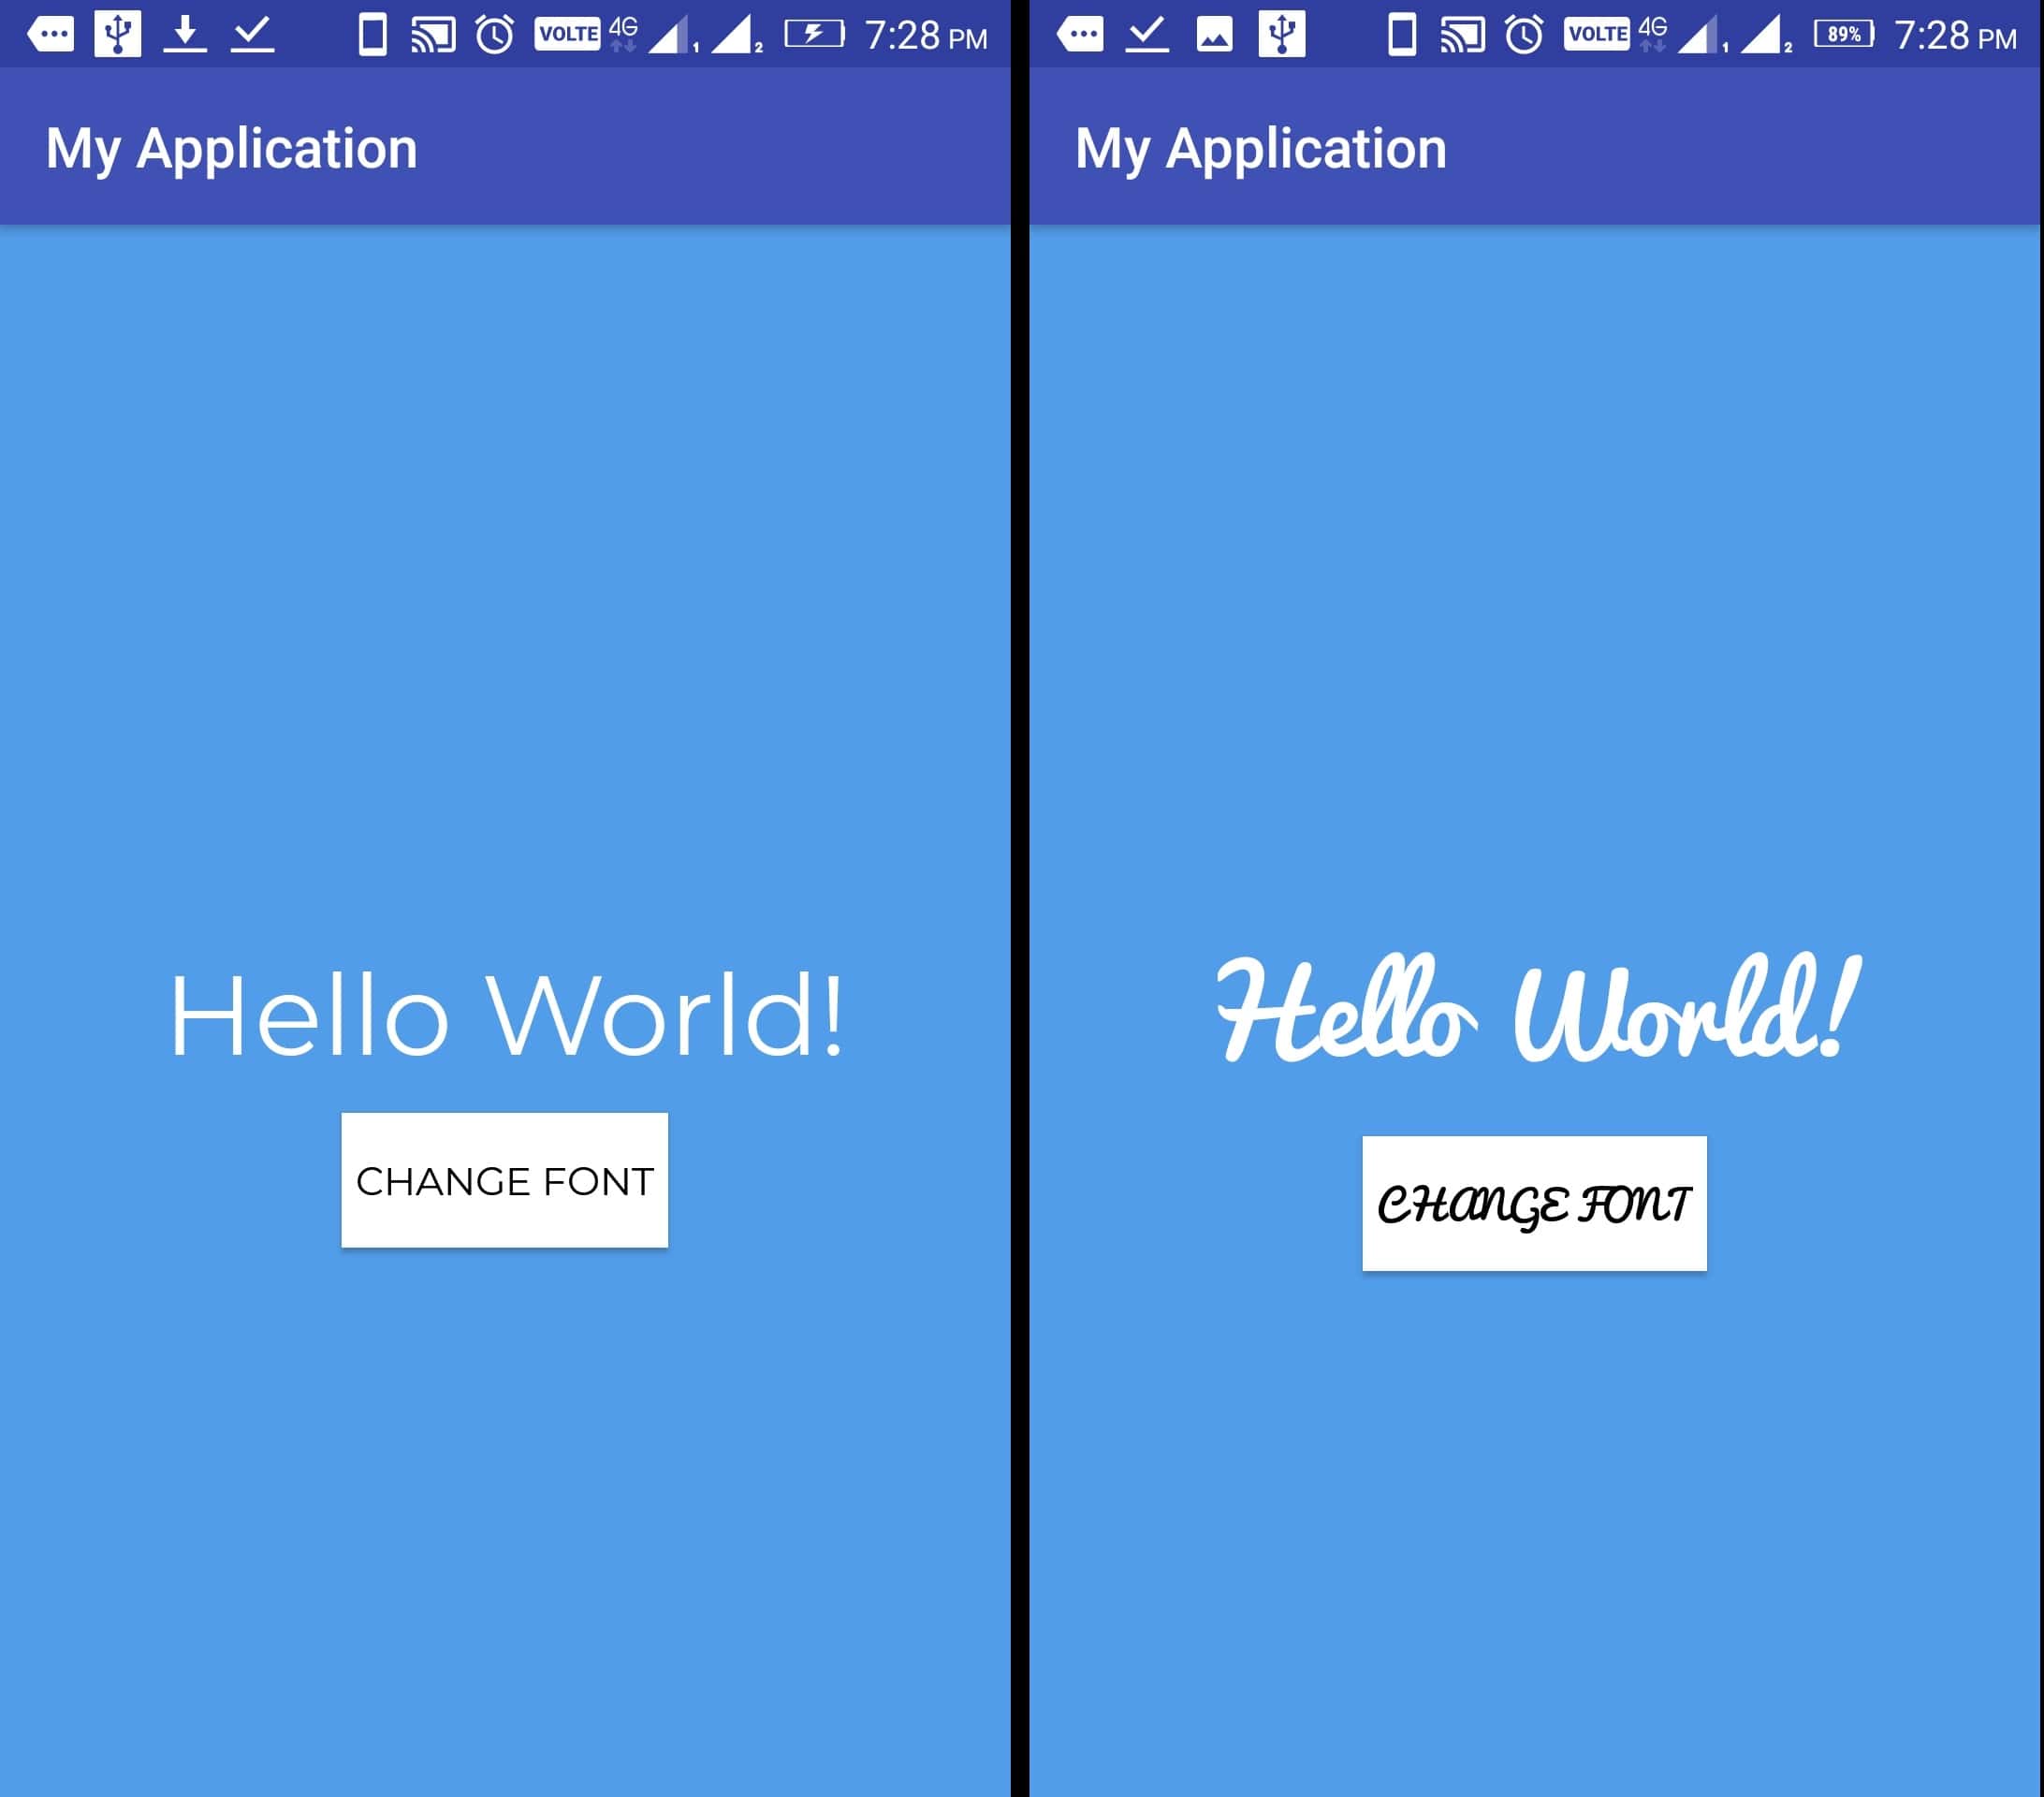
Change Fonts Typeface in Android Application:
Syntax to Change Android Fonts Typeface:
First initialize the Typeface variable-
Typeface typeface = Typeface.createFromAsset(getAssets(), "fonts/montserrat.otf");
Initialize your Android Button or TextView or anyother layout element of which you wish to change Font or Typeface
TextView txtInfo = (TextView) findViewById(R.id.txtInfo);
Button btnFonts = (Button) findViewById(R.id.btnFonts);
Now set your Font or typeface:
txtInfo.setTypeface(typeface);
btnFonts.setTypeface(typeface);
Here we will see complete working example of the above code implementation.
In your Android application, make a new layout file with name “home.xml” and edit it as following :
res>layout>home.xml:
<?xml version="1.0" encoding="utf-8"?>
<RelativeLayout xmlns:android="http://schemas.android.com/apk/res/android"
android:layout_width="match_parent"
android:layout_height="match_parent"
android:background="#529de9">

<TextView
android:id="@+id/txtInfo"
android:layout_width="wrap_content"
android:layout_height="wrap_content"
android:layout_centerHorizontal="true"
android:layout_centerInParent="true"
android:padding="5dp"
android:text="Hello World!"
android:textColor="#fff"
android:textSize="40sp"
android:textStyle="bold"/>

<Button
android:id="@+id/btnFonts"
android:layout_width="wrap_content"
android:layout_height="wrap_content"
android:layout_below="@+id/txtInfo"
android:layout_centerHorizontal="true"
android:layout_marginTop="5dp"
android:background="#fff"
android:padding="5dp"
android:text="Change Font"
android:textColor="#000" />
</RelativeLayout>
Make a new java class in your app package with name “Main.java” and edit it as following :
Main.java:
package com.example.h.myapplication;

import android.graphics.Typeface;
import android.os.Bundle;
import android.support.v7.app.AppCompatActivity;
import android.view.View;
import android.widget.Button;
import android.widget.TextView;

public class Main extends AppCompatActivity {
Typeface typeface;
TextView txtInfo;
Button btnFonts;
int k;

@Override
protected void onCreate(Bundle savedInstanceState) {
super.onCreate(savedInstanceState);
setContentView(R.layout.home);
k = 1;
typeface = Typeface.createFromAsset(getAssets(), "fonts/montserrat.otf");
txtInfo = (TextView) findViewById(R.id.txtInfo);
btnFonts = (Button) findViewById(R.id.btnFonts);

txtInfo.setTypeface(typeface);
btnFonts.setTypeface(typeface);

btnFonts.setOnClickListener(new View.OnClickListener() {
@Override
public void onClick(View view) {
ChangeFont(k++);
}
});
}

public void ChangeFont(int i) {
if (i > 5) {
i = 0;
k = i;
}

switch (i) {
case 0:
typeface = Typeface.createFromAsset(getAssets(), "fonts/greatvibes.otf");
break;
case 1:
typeface = Typeface.createFromAsset(getAssets(), "fonts/montserrat.otf");
break;
case 2:
typeface = Typeface.createFromAsset(getAssets(), "fonts/opensans.ttf");
break;
case 3:
typeface = Typeface.createFromAsset(getAssets(), "fonts/pacifico.ttf");
break;
case 4:
typeface = Typeface.createFromAsset(getAssets(), "fonts/raleway.ttf");
break;
case 5:
typeface = Typeface.createFromAsset(getAssets(), "fonts/roboto.ttf");
break;
}

txtInfo.setTypeface(typeface);
btnFonts.setTypeface(typeface);
}
}
I have placed my fonts into asset folder of my main folder of the project :
app > src > main > assets > fonts > all my fonts in this folder.
AndroidManisfest.xml:
<?xml version="1.0" encoding="utf-8"?>
<manifest xmlns:android="http://schemas.android.com/apk/res/android"
package="com.example.h.myapplication">

<application
android:allowBackup="true"
android:icon="@mipmap/ic_launcher"
android:label="@string/app_name"
android:roundIcon="@mipmap/ic_launcher_round"
android:supportsRtl="true"
android:theme="@style/AppTheme">
<activity
android:name=".Main"
android:label="@string/app_name">
<intent-filter>
<action android:name="android.intent.action.MAIN" />

<category android:name="android.intent.category.LAUNCHER" />
</intent-filter>
</activity>
</application>

</manifest>
Now run your application and test the application.
Thanks.
Download Source code : https://drive.google.com/open?id=14gZWKB713ht8Q6UOetl_fhKfon239KKS
Password : parallelcodes
Also see :
Make an Instagram like Login screen with full SQLite Database.
Android – SQLite Database tutorial with example.
Android – Most common Interview questions.